Log a field trip
Plan trips, note who’s going and what it costs, print permission slips, and keep the photos. Trips with photos get a page in your yearbook.
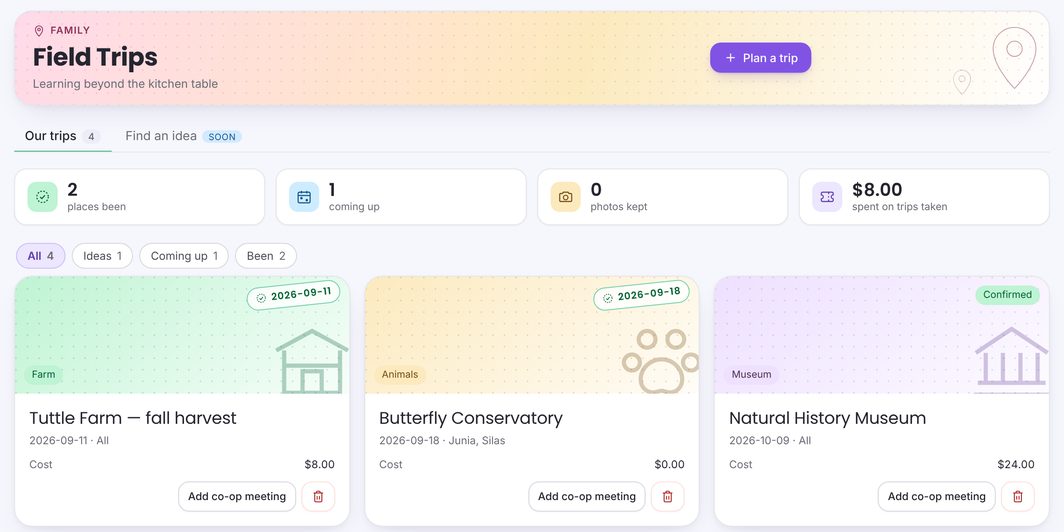
Step by step
-
Open Field Trips and press “+ Plan a trip”.
Field Trips is under Family in the sidebar.
-
Describe the trip.
Give it a Name, choose What kind of trip?, and set the Date (leave it blank for an idea you haven’t scheduled) and the Status: Idea, Planned, Confirmed, Completed or Canceled.
-
Add who’s going and what it costs.
Enter the Cost per child, tick the children under Who’s going?, and put booking details in Notes (they print on the permission slip). Press Create trip. A trip with a date shows on your calendar.
-
Afterwards, add the photos.
Open the trip, set its Status to Completed, and add up to 12 photos under Photos → Add photo (JPEG or PNG, up to 10 MB each). Press Save.
-
Need permission slips?
Open the trip and press Print permission slip: you get one for each child going.
Common questions
Why can’t I add photos?
Save the trip first, then open it again to add photos. They must be JPEG or PNG, up to 10 MB each, and 12 per trip.
Does a field trip count as a school day?
Not by itself. Mark the day in Attendance as well.
Will the trip be in our yearbook?
Trips with at least one photo get a yearbook page with their name, date and photos. If your yearbook was made before the trip, open it and place the trip’s photos from the Trips tab of the photo tray.
What does “Who’s going?” do?
It prints a permission slip for each child going, lists the trip on each child’s year-end report, and multiplies the cost for your trip totals.
Where do I write how the trip went?
In the trip’s Notes.
What is “Find an idea”?
A library of field trip ideas that is coming soon.